When working with your heating and cooling system, you may need to open the control panel for maintenance or troubleshooting. Following the proper steps is important to avoid damage. Handling the control panel carefully helps keep the system running efficiently.
Maintenance is key to improving your system’s performance. Proper care of the control panel can prevent issues and extend the life of your unit. With the right approach, opening the control panel can be straightforward, allowing you to address problems quickly and safely.
Preparing to Open the Control Panel
Gather the Necessary Tools
Before opening the control panel, gather the right tools. You will need a screwdriver or a wrench to remove screws or fasteners. A flathead screwdriver works well for prying open certain panels. A wrench may be needed if bolts hold the cover in place. Use the correct size tools to avoid damaging the panel or components inside.
Check your system for any special requirements. Having all the tools ready makes the job easier and safer, so you won’t have to stop to search for the right tool in the middle of the task.
Turn Off the Power
Before opening the control panel, turn off the power to the unit. This step helps prevent electrical risks or shocks. Switch off the power at the main electrical panel, not just at the thermostat. If you don’t know which breaker controls the system, it’s better to turn off the main power.
Some units may have a separate power switch near the panel, so check for that. Turning off the power keeps you safe while working with the control panel and protects the system from electrical damage. Don’t skip this step.
Accessing the Control Panel
Locate the Panel on Your Unit
To access the control panel, first, find its exact location on your unit. Most systems have the panel near the bottom or side of the unit. Look for a metal or plastic cover, usually secured with screws. If you can’t find it right away, check your system’s manual for specific instructions.
Some units may have a labeled cover indicating the control panel’s location. Identifying the right spot is important to avoid damaging other parts of the system when opening the panel. Once located, you’re ready to move on to the next step.
Remove Any Cover or Panel Fasteners
After locating the control panel, carefully remove the cover or any fasteners that hold it in place. Depending on your system, this may involve unscrewing bolts or simply lifting the panel off. Use the right tools, such as a screwdriver or wrench, to loosen the screws. Be cautious when removing the cover to avoid damaging it or other parts of the system.
If there are multiple fasteners, keep track of them so you can reattach the cover properly later. Once the panel is free of fasteners, gently lift or remove it to access the control components inside.
Inspecting Inside the Control Panel
Check for Visible Damage or Wear
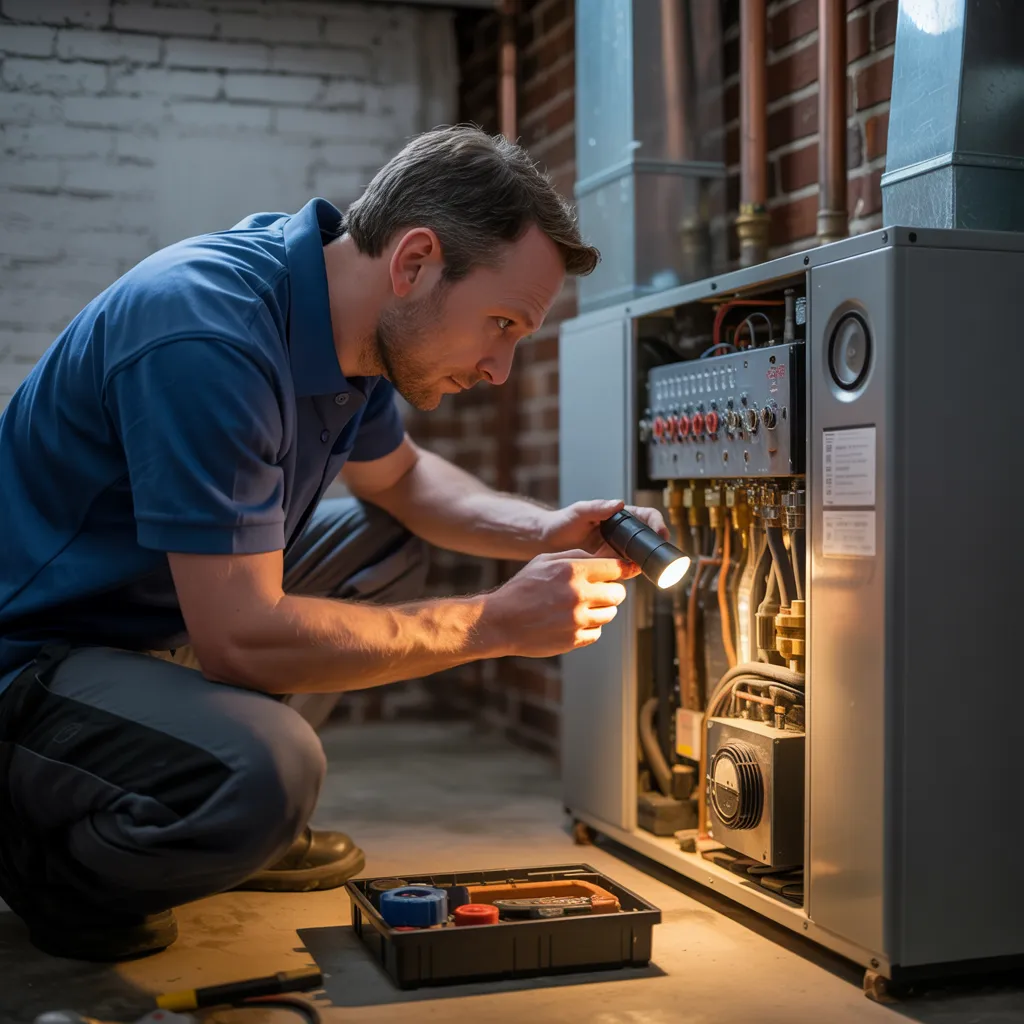
After opening the control panel, begin by checking for any visible signs of damage. Look for cracks, burns, or broken components. Pay close attention to the wires and circuit boards. If you spot any damage, replace the affected parts immediately. Even if everything seems in good condition, take a moment to check for anything unusual.
Detecting damage early helps prevent bigger issues later. Frequent inspections help maintain the system’s overall health, reducing the chances of unexpected breakdowns and costly repairs.
Examine Wiring and Connections
Next, inspect the wiring and connections inside the panel. Look for loose, frayed, or disconnected wires, as these can cause electrical issues. Tighten any loose connections you find and replace any damaged or exposed wires. Worn-out wiring should be replaced to avoid potential hazards.
Properly maintained wiring and secure connections are necessary for the system to function properly. This step reduces the risk of malfunctions and electrical failure. Keeping all connections tight and in good condition will help your system perform as expected and avoid future issues.
Replacing or Repairing Components Inside the Panel
Replace Faulty Parts
If you find any malfunctioning parts inside the control panel, replace them immediately. Faulty components can stop your system from working correctly and may lead to more damage. Start by identifying the broken part, such as a circuit board, capacitor, or another component.
Carefully remove the damaged part and replace it with a new, compatible one. Always use the right replacement parts to avoid further problems. Replacing faulty parts quickly keeps the system running properly and extends its life.
Reconnect Any Disconnected Wiring
While inspecting the control panel, check for any disconnected wiring. Wires can come loose over time, causing malfunctions. If you find any loose connections, reconnect them carefully. Always turn off the power before handling wires.
Inspect the wires for any damage, and replace any that are worn or frayed. Once the wiring is properly connected and intact, the system will function smoothly again. Reconnecting wires correctly prevents electrical problems and helps the system run safely.
Closing the Control Panel and Testing the System
Reattach the Panel Cover
Once you finish inspecting or repairing the components inside the control panel, reattach the cover. Align it carefully with the panel and secure it with the screws or fasteners you removed earlier. Tighten each screw properly to avoid any gaps or loose parts.
If the panel uses clips or latches, confirm they fit securely. Reattaching the cover correctly protects the internal components and keeps the system safe. Before moving on, check that everything is aligned properly and the cover fits tightly.
Turn the Power Back On and Test the System
After reattaching the panel cover, turn the power back on. Go to the main electrical panel and flip the breaker to the “on” position. Power up your system by adjusting the thermostat or control panel. Once the system is on, test its operation.
Listen for any unusual sounds and check for error messages or malfunctioning parts. Verify that the heating or cooling works as expected. If everything runs smoothly, the repairs are successful. If problems continue, further inspection may be needed.
Get Heating and Air Conditioning Help from Price Heating & Air Conditioning
Opening the control panel of your heating and air conditioning system can be tricky without the right knowledge. Following the proper steps helps prevent damage and maintain system efficiency. If the task seems too complicated or you need professional assistance, it’s a good idea to reach out for help.
Price Heating & Air Conditioning offers expert services to meet all your heating and cooling needs. We are located at 1102 Avalon Ave, Muscle Shoals, AL 35661. Contact us today at (256) 588-4746 to schedule an appointment and get the help you need.